Once the analytical budget is set up and structured in Sage X3, the user will be able to enter the budget amounts. The budget entry window must be set up prior to entering the budget amounts against the budget codes.
Budgets are defined for a selection of accounts and for up to three dimension views. The entry screen will depend on the set up of the budget and will result in entry for an account, dimension or pyramid.
The newly public company had the option of showing investors, through the eyes of management, what the profit and loss expectations were and showing the drill-down view of how the income and expense expectations were to be derived. The newly public company needed time to evolve and grow but the functionality and controls were available in Sage X3.
There are three methods (seen below) that the budget can be set up are:
- Period – budget amounts are set for a period of time across dimension parameters and accounts based on a date range. The budget entry screen requires a date range when selecting the period budget category
- Dimension – budget amounts cover an account range. The budget entry screen requires an account range when selecting the period dimension category
- Account – budget amounts cover a dimension range. The budget entry screen requires a dimension range when selecting the period account category
The budget entry transaction screen can be established by navigating along the following path:
All > Setup > Financials > Budgets > Budget entry transactions
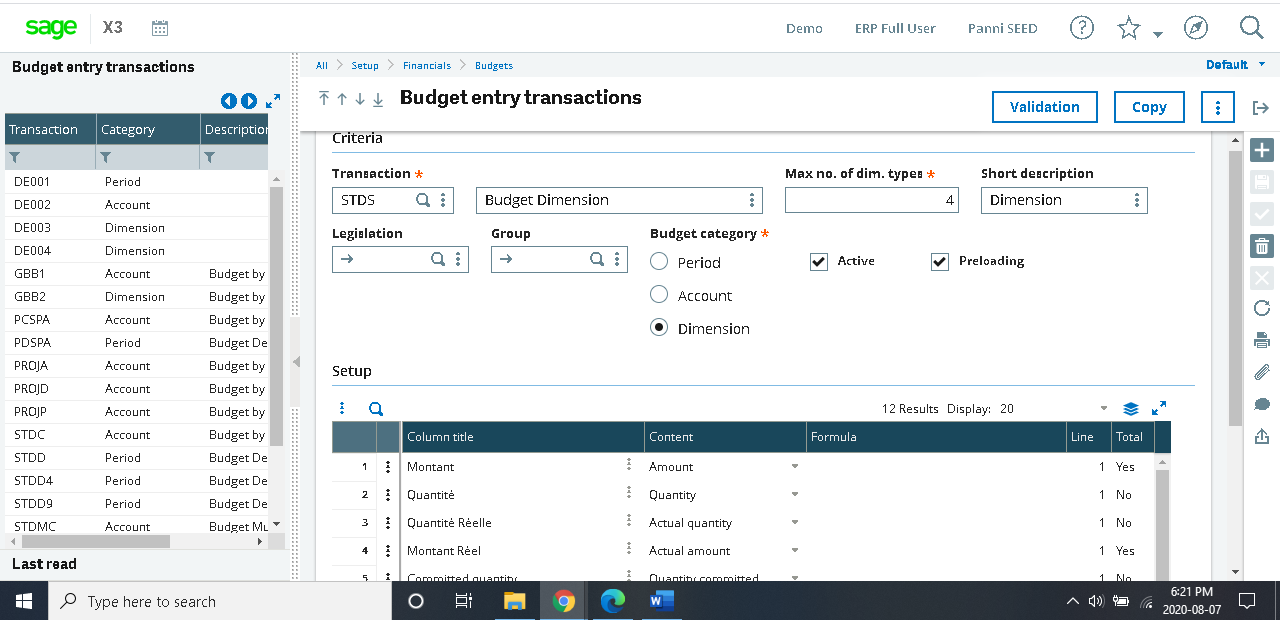
The budget can be set up with column titles, content of the columns, simple formulas (containing +addition, – subtraction, / division and * multiplication) and specified whether shown or hidden and totals are created or not.

With the entry screen set up the user can now enter the budget amounts.
To begin entering the budget amounts, navigate along the following path:
All > Financials > Budgets > Budget entry
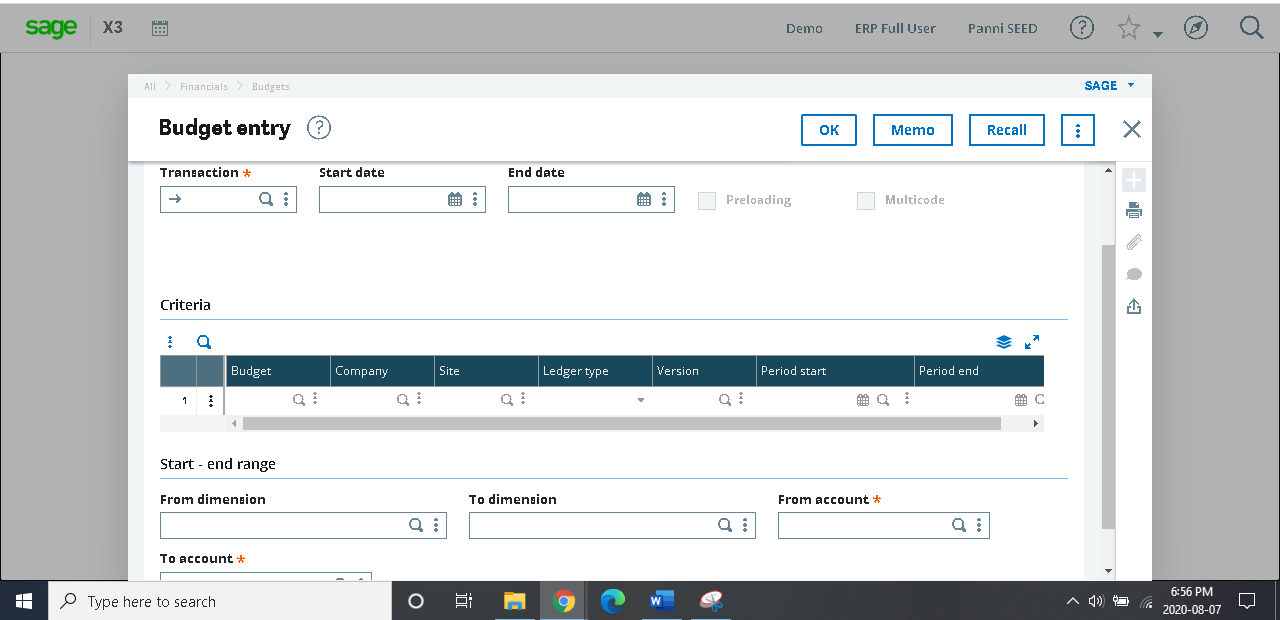
Fields with denoted with the red asterisk (*) must have values to satisfy the creation of analytical budget entry.
The entry screen begins with the transaction selection.
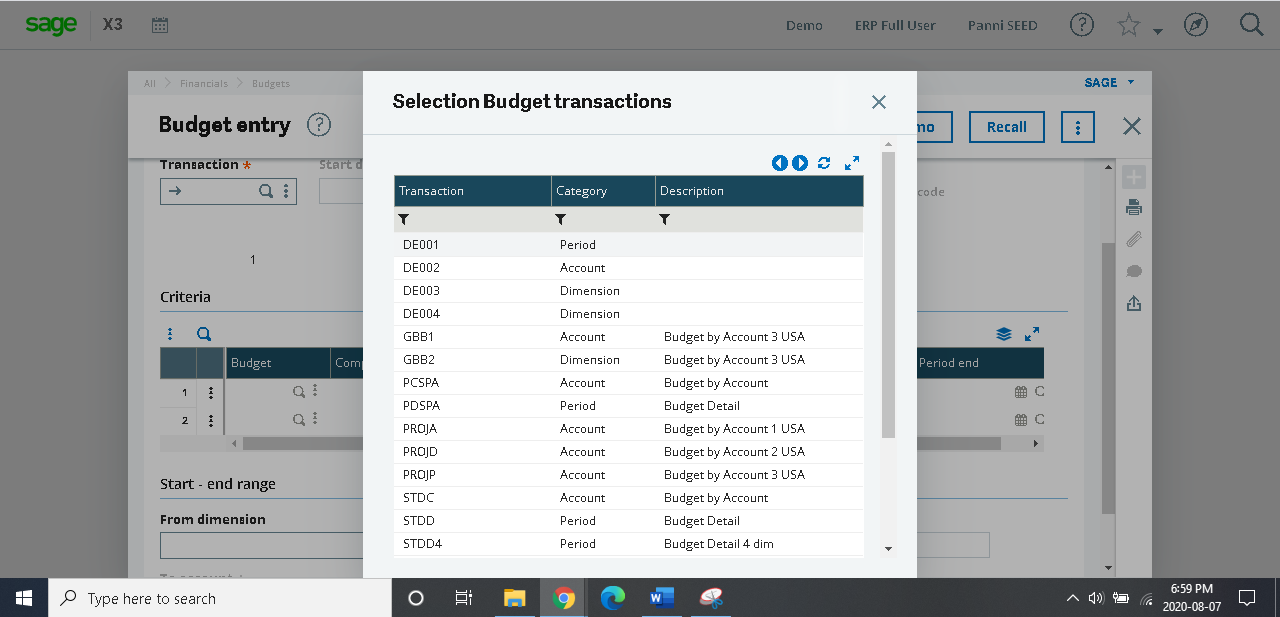
Then the budget criteria must be selected. This case the budget is by dimension.
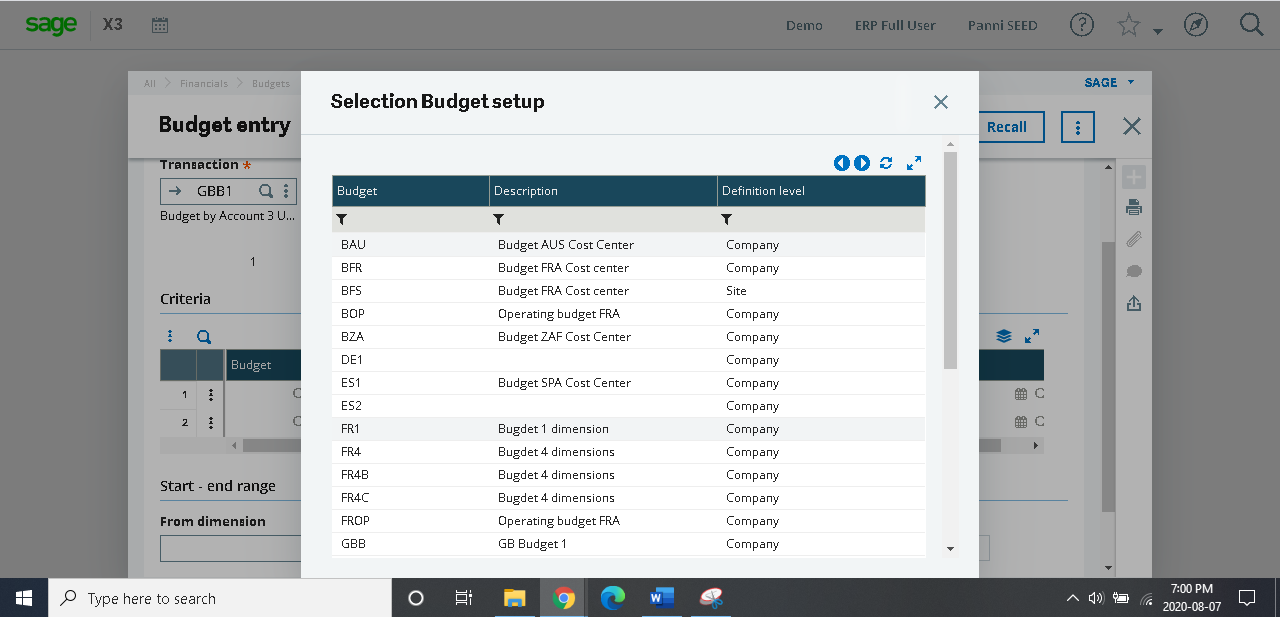
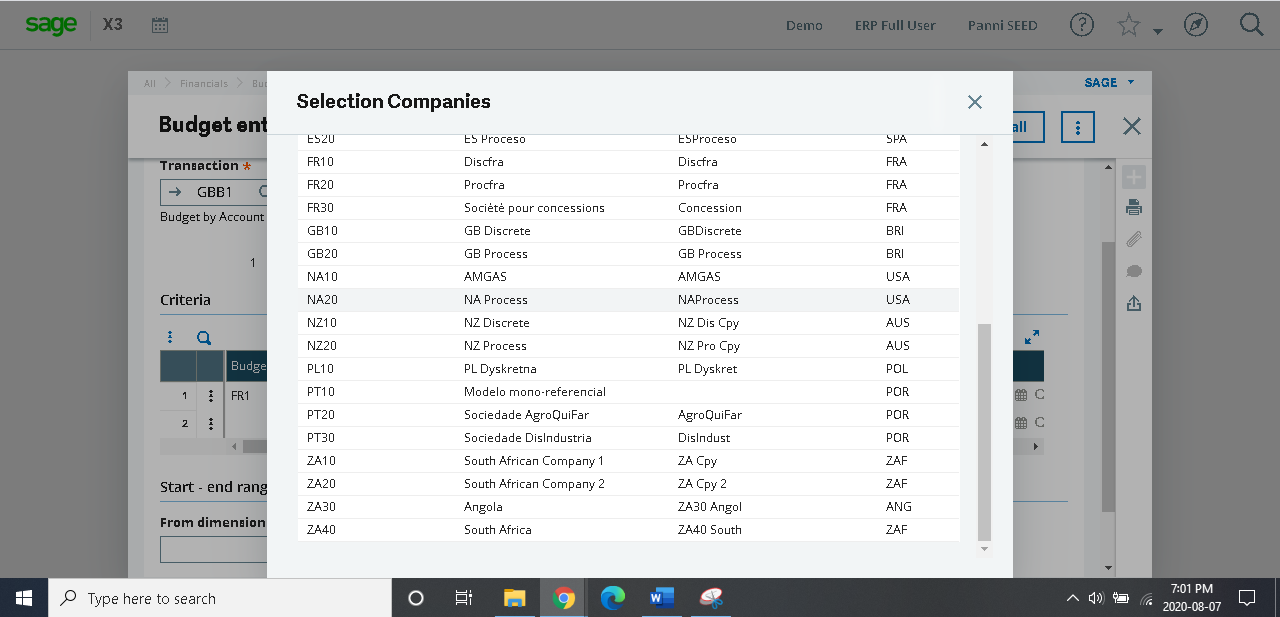
Select company, ledger type and the active version will populate (only one active version at a time).


The beginning and ending date must be selected. In this case January 01, 2018 is the beginning of the fiscal year and December 31, 2018 is the ending of the 2018 fiscal year.
Dimension range, as seen below, describes the dimensions that will have values for the account to be selected in the next step. In this case we will begin with the first instance and end with the final instance of the dimension to catch all possibilities as defined in the account codes. Then click OK.
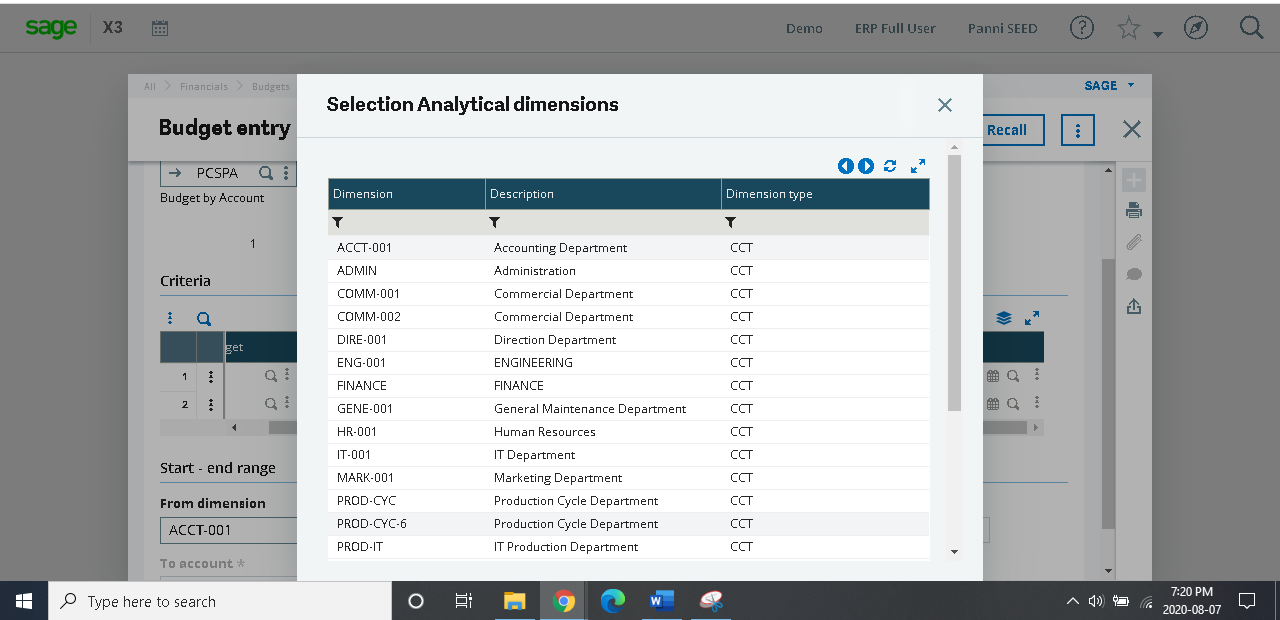
The account must be selected and then the entry screen will appear for the specific account that the dimension values are to be entered for.
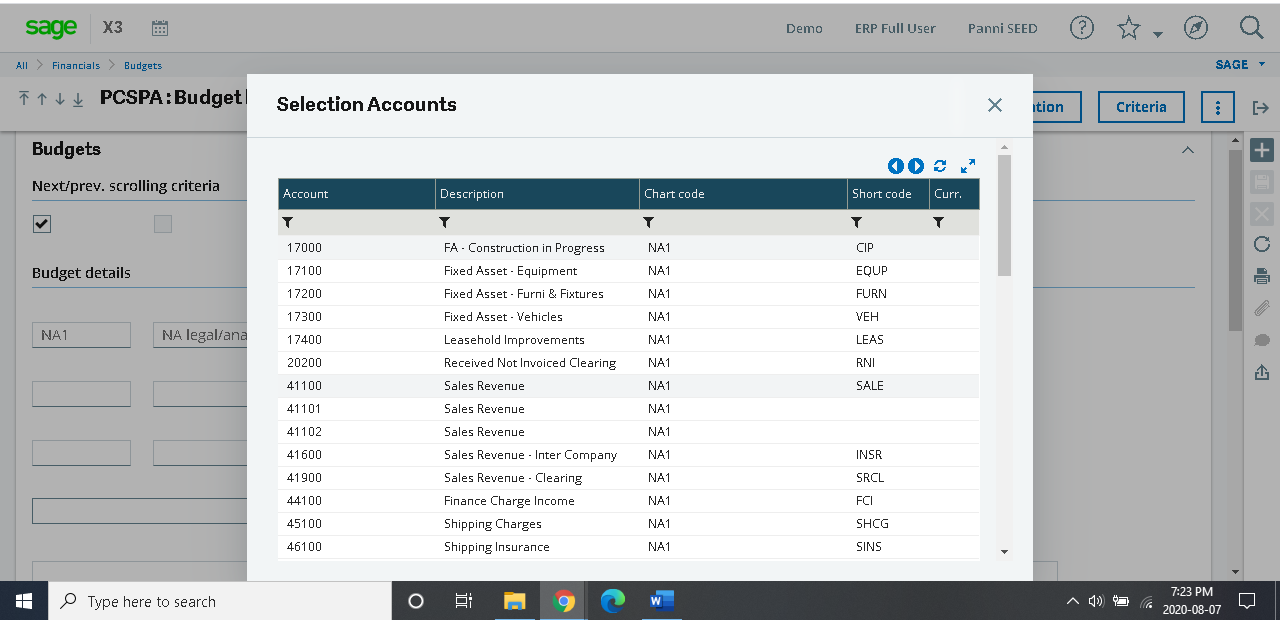
The account selected in this case is sales (600000).
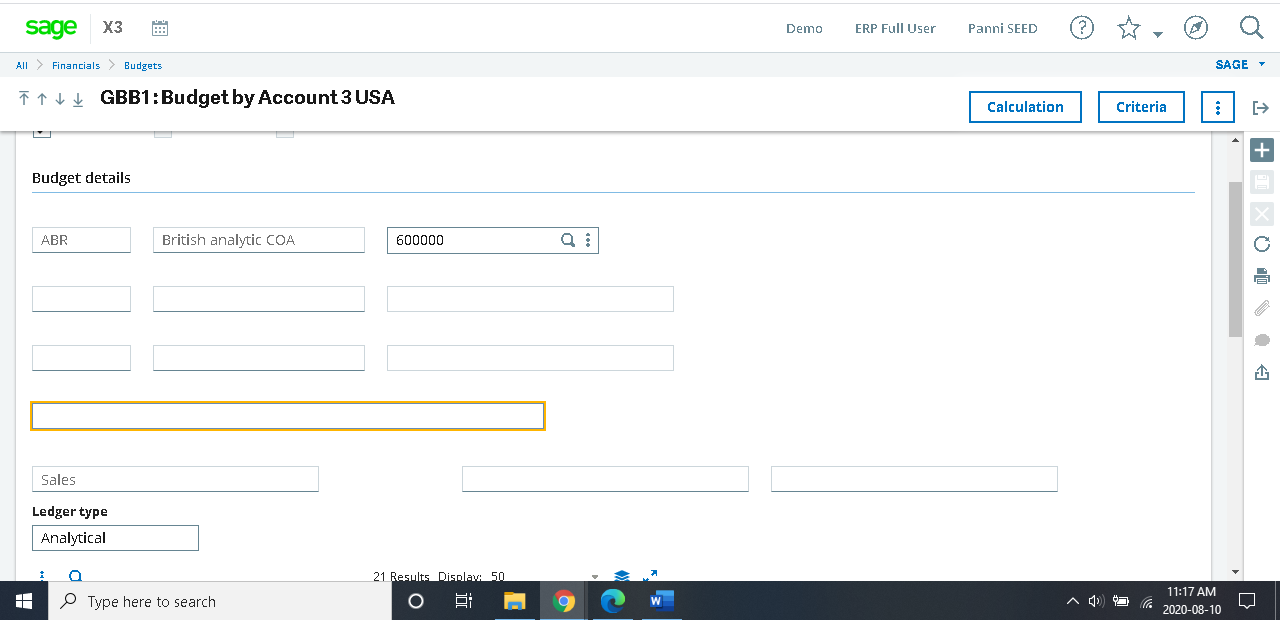
Scroll down on the entry screen that is active to find the dimension types to enter the specific values for the budget items.
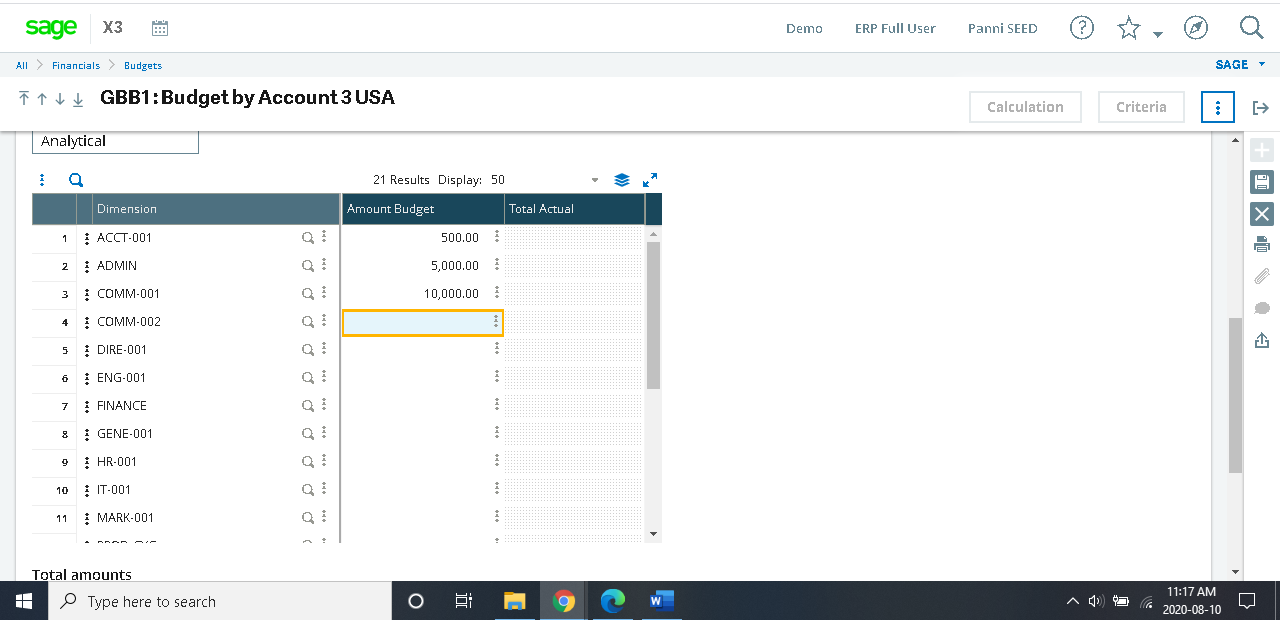
Once the budget item values have been entered, the user will save the work completed as denoted by the disk icon on the right hand side of the active screen.
About the author

James Hurren is a Senior Financial Consultant at Panni. He brings with him expertise in ERP design and implementation, IT Initiatives and enhancements, Strategic Leadership, Financial Reporting & Analysis, IFRS & TSX Compliance, Debt and Equity Financing, Budget Preparation Process Optimization.
Transforming Businesses since 2009
For over a decade, Panni has helped companies transform their businesses to lead, innovate and be profitable. With the right combination of technology and experienced developers and consultants, we help companies with Change Management to achieve the organizational objectives. We believe in long-term relationships with our clients and provide top-notch support with fast turnaround times.

